Just a reminder: this is the bridge we don't want anymore:
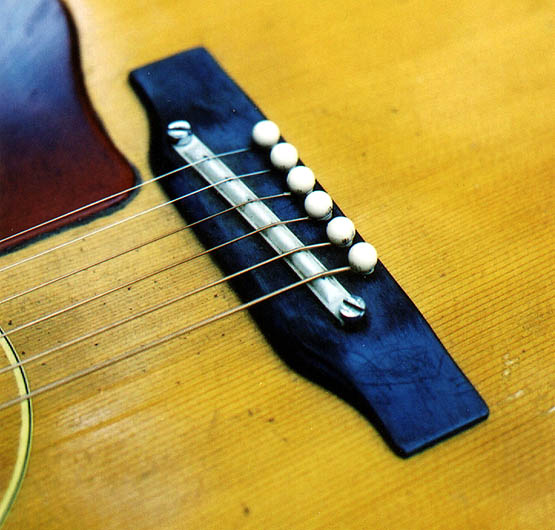
Now we use it to make the bridge that's better. Ah!
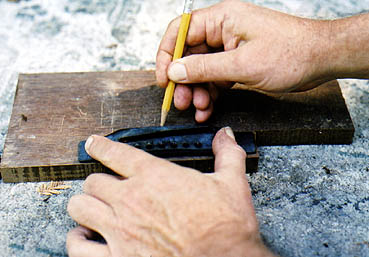
First I find a nice
piece of
rosewood (or whatever) that matches the fingerboard,
and select a blank of the right height, and then I trace the outline
and approximate bridgepin hole and saddle locations
using the original
stupid bridge.
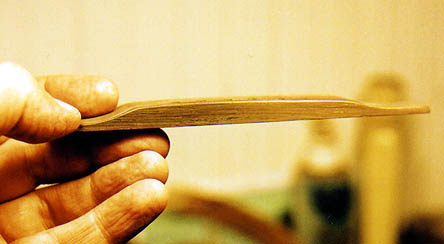
I cut the piece out on the bandsaw, true up the gluing face and the long straight side, then get the actual height approximately correct and smoothed off so I can draw on it better. Like this:
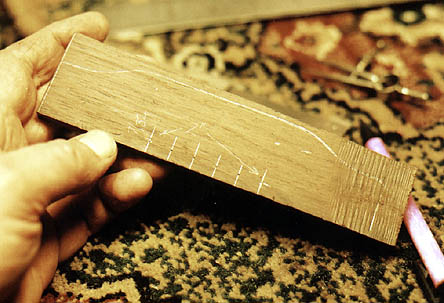
The rough end is OK since it'll be gone shortly.
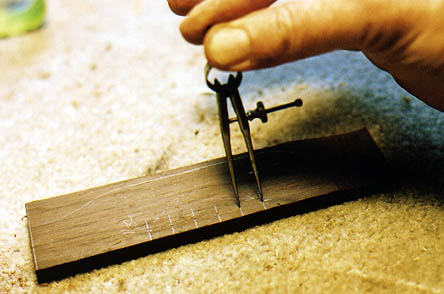
I fine-tune the bridgepin holes first, using dividers to ensure perfect spacing.
To mate with the original bridgepin holes, they must be a precise distance from the back edge, and from the ends, as well as from each other. Knowing the old holes were correct, that reference saves some work.
Then I drill the holes with a brad-point bit on the drill press. 3/16" holes are just right for starters.
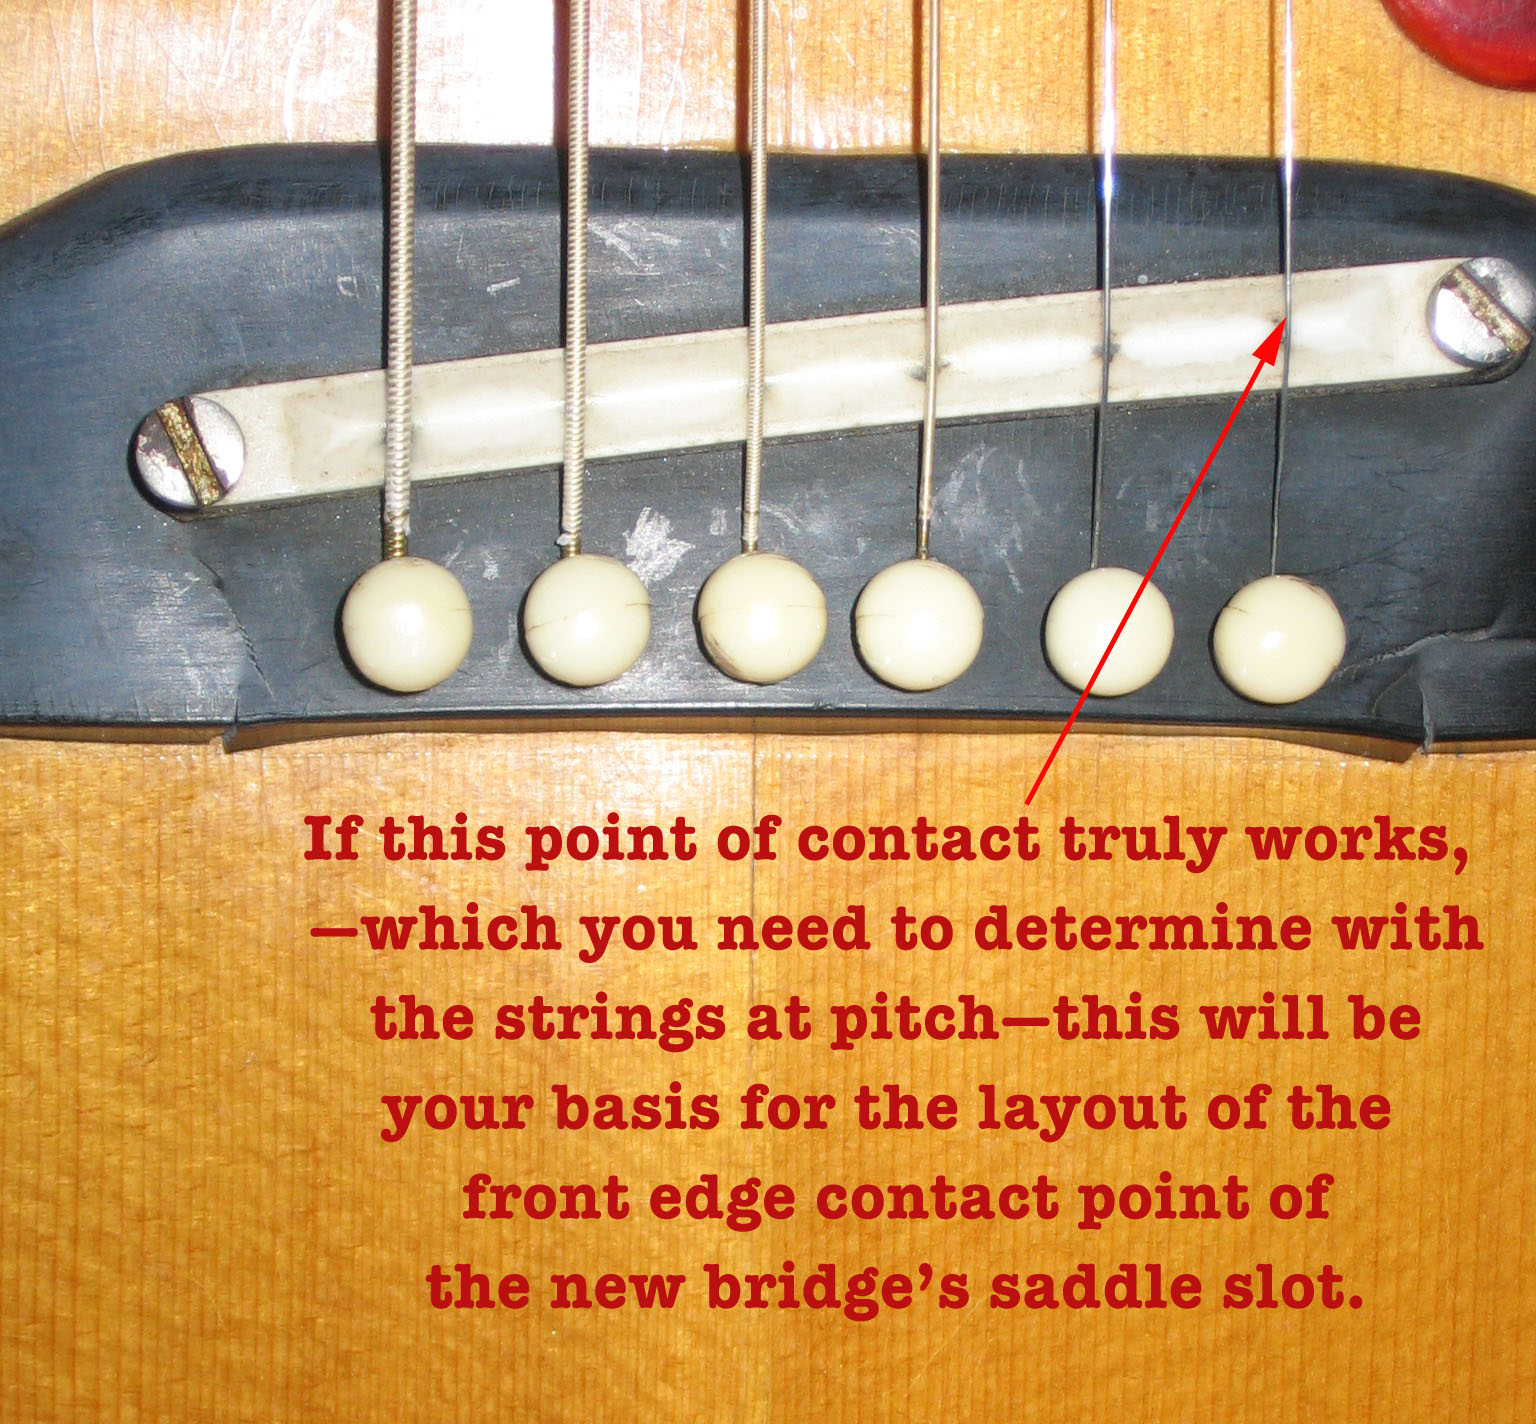
Then I lay out the slot
for the
saddle, making sure first that it is
located just right.If the old Gibson adjustable saddle
had good intonation, you can set the front edge of the
saddle slot by that. Remember that these old Gibsons
had a short sale and really intonate better with the
more steeply angled saddle.
Once the slot is laid
out, I
use a jig on the drill press to route that
slot. I use a 3/32" carbide porcelain bit, or better yet, a down-cutting carbide bit. It's very
sharp, and at the drill press's 5600
rpm, it doesn't burn, it
just cuts a nice clean channel. 3/32" is a magic number. Please don't bother with 1/8".
Here's a look at the
simple but
effective jig. I have made hundreds
of bridges with this jig.
It does the saddle angle automatically to any size
bridge blank I can
clamp into the jig. This angle is steeper than the
conventional old Martin. Which is a good thing.
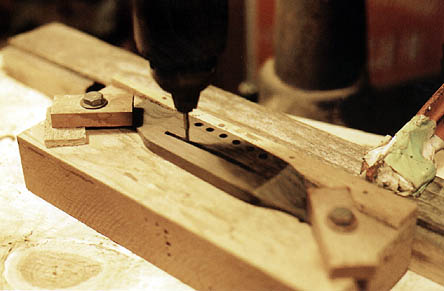
In this photo you can see I have roughed in the wings. I do this on a small 3-1/2" drum sander. The top of the center of the bridge is still quite rough.
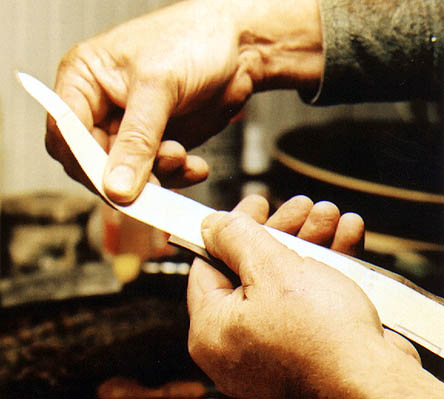
Now I begin to refine the surfaces of the bridge, starting with the ends and the long curved edge.
Using the bridgepin
holes with
3/16" bolts through them as guides, I
check the ends first. Remember
the green masking tape marked exactly where the
original ends were.
I've left the ends a little long until now. When I'm
certain the
bridgepin holes
all line up, I can trim the ends closer. Same with the
"front" edge.You only want to cover the footprint of the original
bridge. (Less is more!)
Check all sides to make sure the edges all line up. Then proceed to refining the bridge's top surfaces.
The bridge should be higher on the bass side:
I finish-sand the surface, and particularly the wings, by hand with abrasive paper mounted to fiberglass packing tape. This enables really fine control of spot-sanding, and eliminates the possibility of rounding over edges that are best left crisp. I use a succession of grits, from 180 down to 400.
OK, now the bridge is ready to put in place for a dry run of the glue-up.
First though, I make a caul for the inside of the guitar, so I can clamp the entire bridge safely.
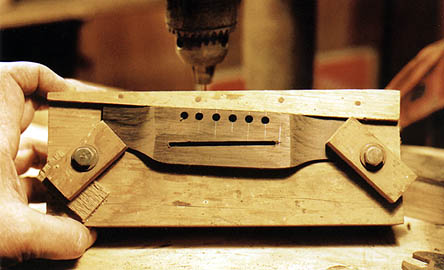
I use the bridge as a guide for drilling the #1 and #6 holes in the caul.
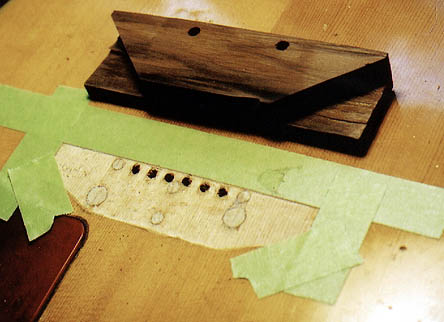
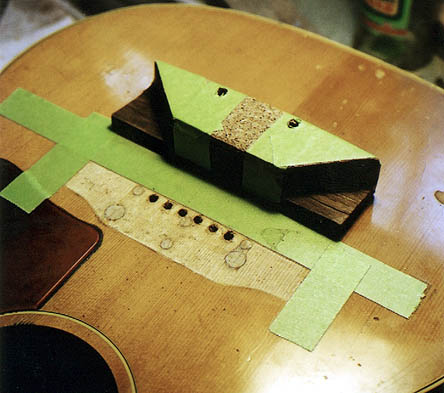
The diagonal masking
tape marks
brace locations; the caul (this one's
a scrap of walnut) is shaped to allow me to clamp fully on the very ends
of the bridge.
The holes line up precisely, of course. I carefully
clamp the caul into place and redrill the 1st
and 6th bridgepin holes through the bridgeplate patch
and into the caul
itself to make sure
that the bridge and caul will be exactly where they
need to be at
glue-up time.(Save drilling the other holes until after the bridge is glued and dry.)
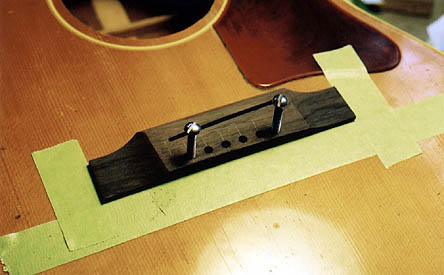
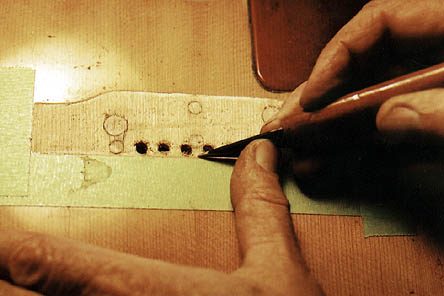
Now I take off the diagonal tape and go for the final refinement of the gluing surface.
While the bridge is temporarily but firmly affixed with 3/16" bolts and wing nuts, I very carefully score the lacquer just at the edge of the bridge wood.
You only get one chance to do this right. No mistakes allowed.
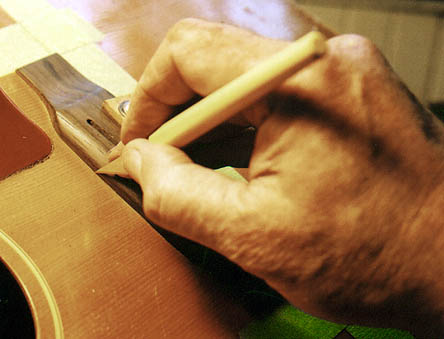
The scored line will make the lacquer break like glass.
Below is the business end of a mezzotint rocker. It's a tool art engravers use in the intaglio process to do quick shading fills and so on, and it's real handy for removing brittle lacquer and other stuff, and for roughing up a surface preparatory to gluing.
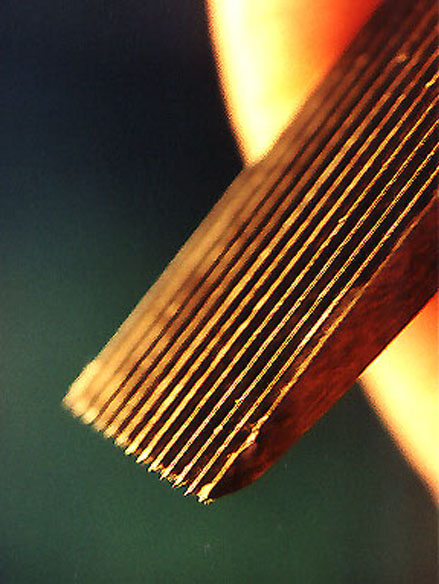
Mine's about 7/16" wide.
Sometimes I use it like this, two hands, pulling it toward me:
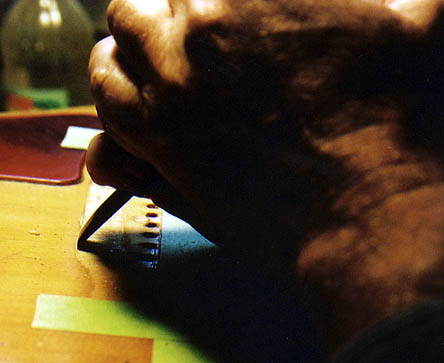
The old nitro finish just shatters and pops off, but it doesn't remove a trace of wood.
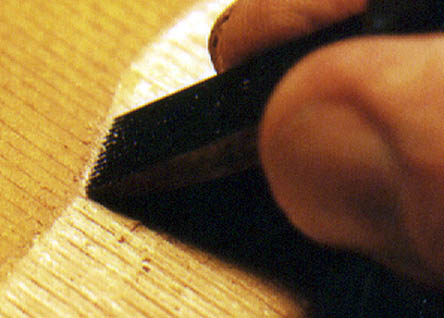
I can now gently use the rocker upside down as a horizontal saw to remove all the lacquer inside that scored line:
I also use my violin knife, the large one, to clean the back surface.
You essentially inlay the bridge into a precision hole in the finish.
Again, no slack.
The top's spruce is now patched, uniformly dead flat, precisely cleaned to receive the new bridge, and ready for glue.
Now I put a double-thick pad of cork on the bridge caul; remember, it has to absorb the thickness of the patch I put in there.
A complete dry run to make sure everything fits perfectly, before the real operation:
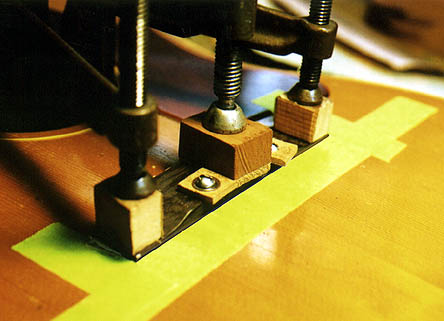
I run two bolts through
to wing
nuts inside on the other side of the
caul and make sure the bridge hasn't slipped. To
prevent boogering the
surface of the new bridge, the bolts have "washers" of
masonite under
regular
steel washers. I tighten the bolts snugly so the
bridge stays put, then I put on the three iron
C-clamps. I pull the tape and do all the
cleanup
now, while the glue is fresh and soft.
This means completely washing the entire area with warm
water. Much easier now than later! Toothbrush, Q-tips,
etc.
After the glue has dried overnight, I leave the caul in and remove the bolts and only two of the clamps, using the remaining one to hold the caul in place while I drill clean holes in all six holes. I use an 18" long 3/16" brad-point bit for this, because I can work around the clamp this way.
Do not drill bridge pin holes clear through the back of the guitar, please!
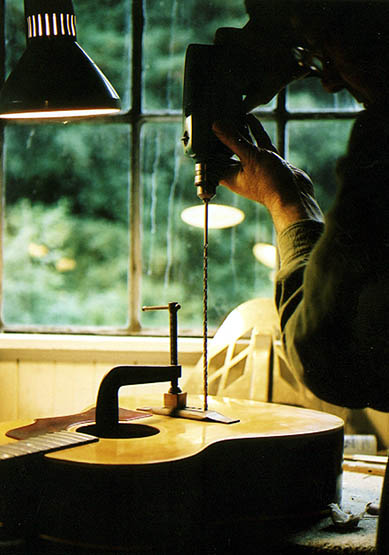
The caul prevents tear-out inside. It's usually slightly glued on after the gluing procedure, so I can move the C-clamp side to side as I move across without the block dropping off.
Now the bridge is ready for all the little setup procedures:
- cleaning the bridgeplate after removing the caul
- vacuuming out all the debris inside the guitar
- fitting the saddle
- refining the taper of the bridgepin holes
- chamfering the bridgepin holes
- putting in string ramps
- fitting the pins
- removing the glue and schmutz from the bridge itself
- removing the glue and schmutz from around the bridge
- polishing the bridge wood
- stringing the guitar up - voilà!
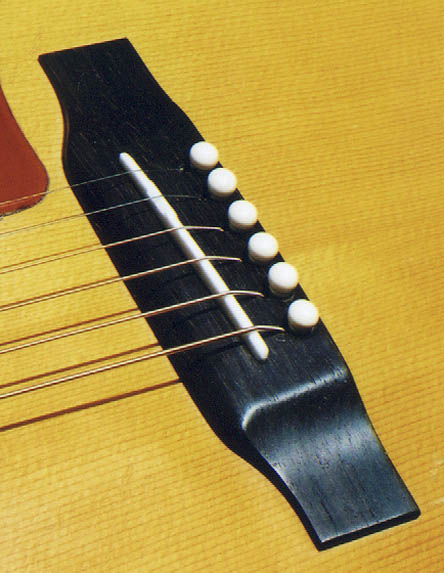
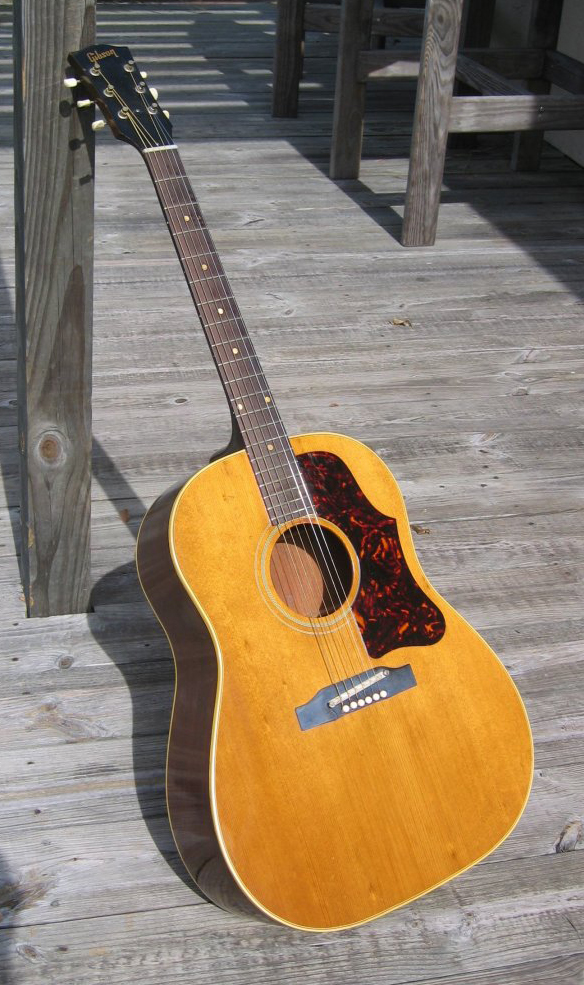
Here's a B-25 with the all-wood adjustable bridge:

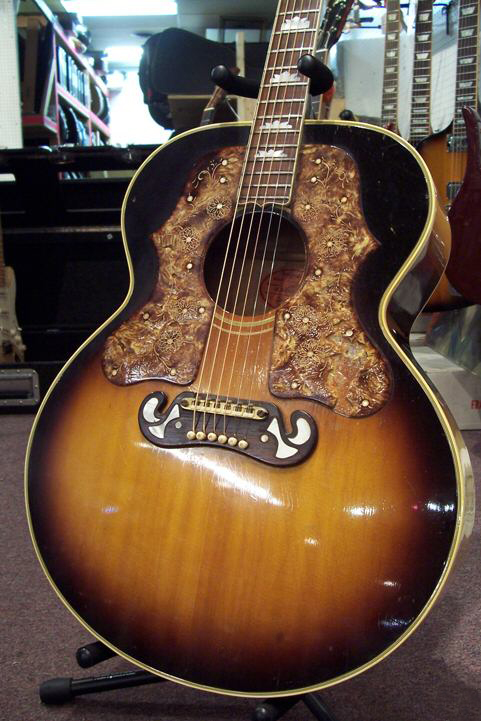
Here are a couple of the worst-sounding Gibsons ever made—a J-200 and, below, a Dove—with Tune-O-Matic bridges sucking at least half the sound out of the strings.
Again, if the neck width is acceptable (these often had 1-5/8" necks, which aren't for everyone) replacing the bridge is a sure way to finally hear the real potential in these guitars.
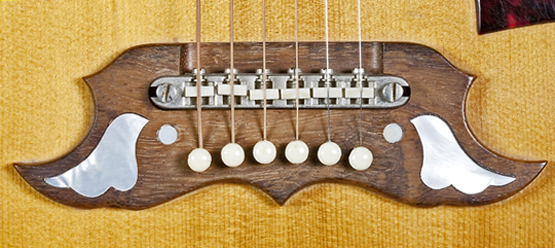
Revenge of The Celluloid—times TWO!
I love how this Tune-O-Matic is adjusted. Huh?
Questions?
Drop
me
a line:
click
here